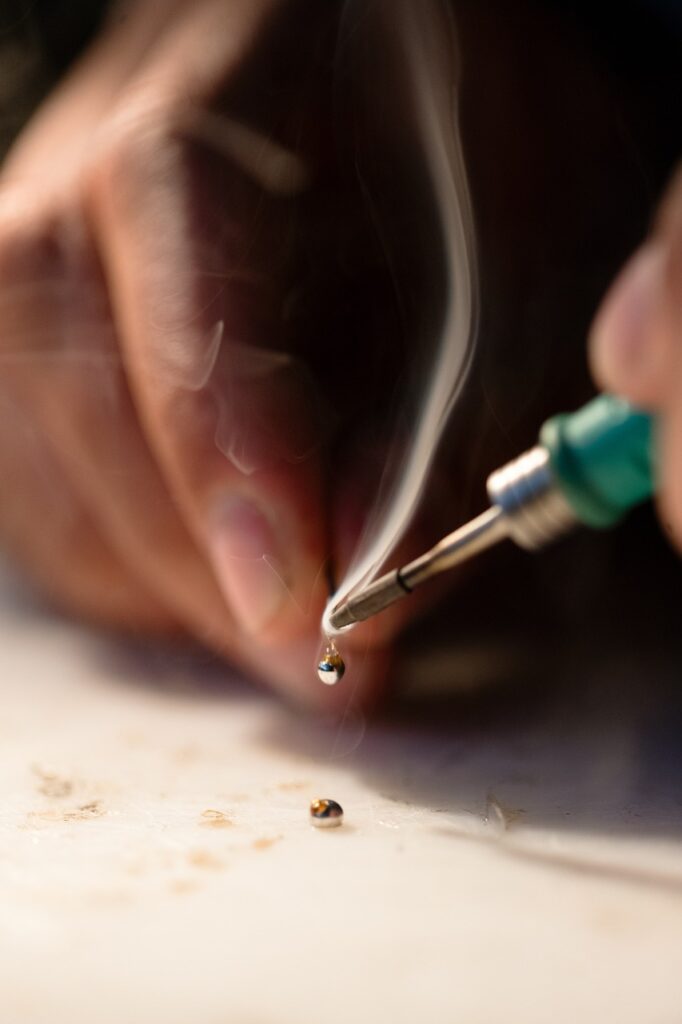
A Simple Guide on How to Solder
Soldering is an essential skill for building and maintaining FPV drones. In this guide, you’ll learn how to solder and the steps required to create strong, reliable connections for your drone’s electronics.

What is Soldering?
Soldering involves using a hot soldering iron to heat a metal surface (like a drone pad) and joining it with another metal (solder). The solder, typically a mix of lead and tin, melts and flows into place, creating a secure connection once it cools. This technique is crucial for attaching wires to electronic components in FPV drones.
What Equipment is Needed for Soldering?
To get started with soldering, here’s what you’ll need:
- FPV Practice Board: A great way to practice your soldering skills before working on real drone components.
- Temperature-Controlled Soldering Iron: A temperature controlled soldering iron with a 2.4mm chiseled tip is recommended for FPV drone work. For an affordable option, check out this affordable soldering iron kit recommended by Joshua Barbwell.
- Leaded 63/37 Rosin-Core Solder: This type of solder melts easily and helps form reliable connections.
- No-Clean Flux Pen: Flux prevents oxygen from contaminating the solder joint, ensuring a stronger bond.
- Brass Sponge: Used to clean the soldering iron tip without damaging its protective nickel coating.
Steps for Soldering
Here’s a step-by-step guide to soldering:
- Prepare the Iron: First, set the iron temperature to 675°F degrees. Then add a small amount of solder to the side of the soldering iron tip. This helps with heat transfer.
- Heat the Pad: With the solder facing the pad. Touch the soldering iron to the pad and heat it up.
- Apply Solder: Once the pad is hot enough, touch the solder to the pad. Melt the solder until you have a mound of solder. Avoid adding too much, as it can form a bubble or too little, as it can weaken the joint.
- Prep the Wire: Strip about 2mm of insulation from the wire and twist the strands to keep them together. Apply flux to the exposed wire, Coat the wire with solder by applying solder to the soldering iron and pulling the wire through the molten solder, starting from the insulated end and moving toward the exposed tip.
- Join the Wire and Pad: Cut the wire to the length of the pad. Apply flux to the tinned pad, position the wire to where you want it, and heat the pad with the soldering iron. Once the solder on the pad melts, remove the soldering iron and hold the wire in place until the solder solidifies again. Clean the soldering Iron with the brass sponge.
Conclusion
Soldering is a critical skill for any FPV drone enthusiast. With practice, you’ll be able to create reliable electrical connections, ensuring your drone performs at its best. Take the time to perfect your soldering technique now, and you’ll save time and headaches when assembling or repairing your drone in the future. For more details on soldering, check out this soldering tutorial. And Joshua Barbwell’s tutorial Most FPV pilots need to watch this soldering tutorial